Installing Glassy Companion
Install the Glassy Companion browser extension for Chrome or Firefox, connect it to your account, pin it, and set up keyboard shortcuts for one-keystroke capture.
Before you start
- getting-started/01-welcome-to-glassy
What you'll learn
- Install the Glassy Companion extension from the Chrome Web Store or Firefox
- Connect the extension to your Glassy account
- Pin the extension for quick access
- Set up keyboard shortcuts for capture modes
- Verify that capture works on a test page
What is Glassy Companion?
Glassy Companion is a browser extension that lets you capture web content directly into your Glassy library. With a single keyboard shortcut, you can save:
- Full pages — the entire article content, cleaned and formatted as Markdown
- Bookmarks — a URL with title and tags, lightweight and storage-free
- Selections — highlighted text with source attribution
- Screenshots — viewport or region captures as image notes
- Elements — specific page components picked from the DOM
The extension works with Chrome, Edge, Brave, other Chromium-based browsers, and Firefox.
Step 1: Install the extension
Chromium browsers (Chrome, Edge, Brave)
Open the install page
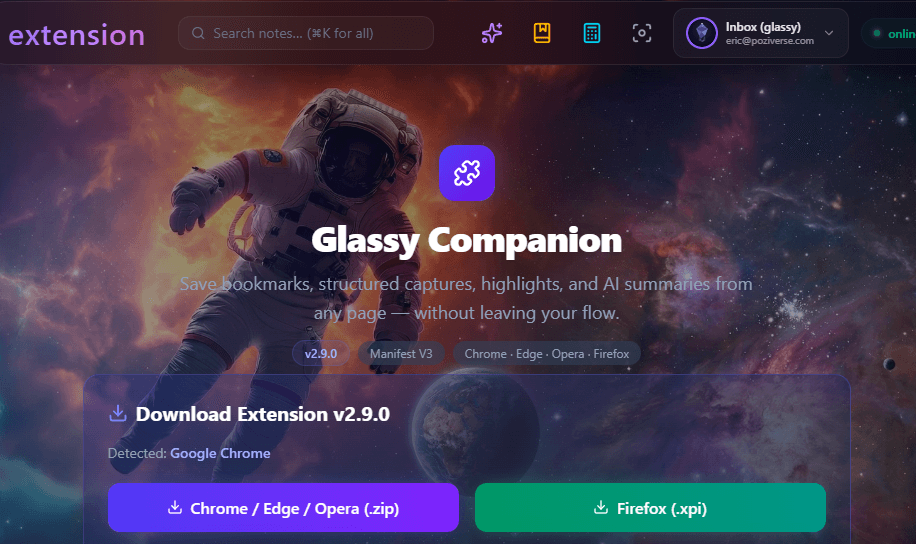
In your Glassy workspace, go to the extension page (the download/install link is available in-app), or search for Glassy Companion on the Chrome Web Store.
Click Add to Chrome
Click Add to Chrome (or Add to Edge / Add to Brave) and confirm. The Glassy icon appears in your toolbar.
Pin the extension
Click the puzzle piece icon in your toolbar to open the extensions menu, then click the pin next to Glassy Companion. This keeps it visible for quick access.
Firefox
Download the .xpi
Download the latest glassy-companion-v2.15.0-firefox.xpi from GitHub Releases or the extension page.
Install the .xpi
Open Firefox, go to about:addons, click the gear icon, choose Install Add-on From File, and select the downloaded .xpi.
Pin the extension
Click the extensions icon in the Firefox toolbar and pin Glassy Companion.
Step 2: Connect to your Glassy account
Click the Glassy icon
Click the Glassy Companion icon in your toolbar. A popup appears with a setup screen.
Confirm your instance URL
If you use the public Glassy instance, the default app.glassy.fyi is correct. If you’re on a self-hosted instance, enter your URL (e.g., http://localhost:3000).
Sign in
Click Sign in — you’ll be redirected to the Glassy login page. After logging in, you’re redirected back and the extension is connected.
Step 3: Set up keyboard shortcuts
Glassy Companion supports customizable keyboard shortcuts for each capture mode. Configure them in your browser’s extension shortcuts page:
- Go to
chrome://extensions/shortcuts(Chrome/Edge/Brave) - Find Glassy Companion
- Set shortcuts for each action:
| Action | Suggested shortcut |
|---|---|
| Capture full page | Ctrl +Shift +S |
| Capture selection | Ctrl +Shift +Q |
| Capture screenshot | Ctrl +Shift +R |
| Open popup | Ctrl +Shift +G |
Step 4: Test your first capture
Open a web page
Open any article or blog post in your browser.
Trigger a capture
Use your keyboard shortcut or click the extension icon, then choose Capture page.
Verify in Glassy
Open Glassy and check your library — the captured page appears as a new note with the article content, source URL, and automatically extracted tags.
Troubleshooting
What’s next?
Now that Companion is installed, learn to capture from the web — bookmarks, full-page captures, and text highlights.