Organizing with Tags
Use tags, pinned tags, filter chips, and Keep collections to keep your library searchable and clutter-free as it grows.
Before you start
- getting-started/02-your-first-note
What you'll learn
- Add and edit tags on any note
- Pin your most-used tags to the sidebar
- Use filter chips to quickly narrow your note view
- Create collections in GlassyKeep
- Understand the difference between tags and collections
A library without organization is just a pile. Tags give your notes address — a way to find them again weeks or months after creating them. This lesson covers tags, pinned tags, filter chips, and collections.
Adding tags to a note
While editing
Open any note and click the tag area in the note header, or press T . A tag input appears with autocomplete suggestions from your existing tags.
- Select an existing tag from the suggestions (recommended — keeps your taxonomy clean)
- Type a new tag and press Enter to create it
- Remove a tag by clicking the x next to it
From the notes view
In the Notes view, filter chips appear above the notes grid. These let you quickly narrow what you see without typing.
Filter chips
Above your notes grid, Glassy shows filter chips — quick toggle buttons that narrow your view:
- Smart filter chips — predefined filters like All, Pinned, Public, Recent, Longform, Cover
- Top tags — your most-used tags appear as chips for one-click filtering
- ARCHIVED — a chip to view your archived notes
Click any chip to filter. Click it again to remove the filter. These are designed for fast, keyboard-free triage.
Pinning tags
Some tags deserve permanent visibility. Pinning a tag places it directly in your sidebar for one-click access.
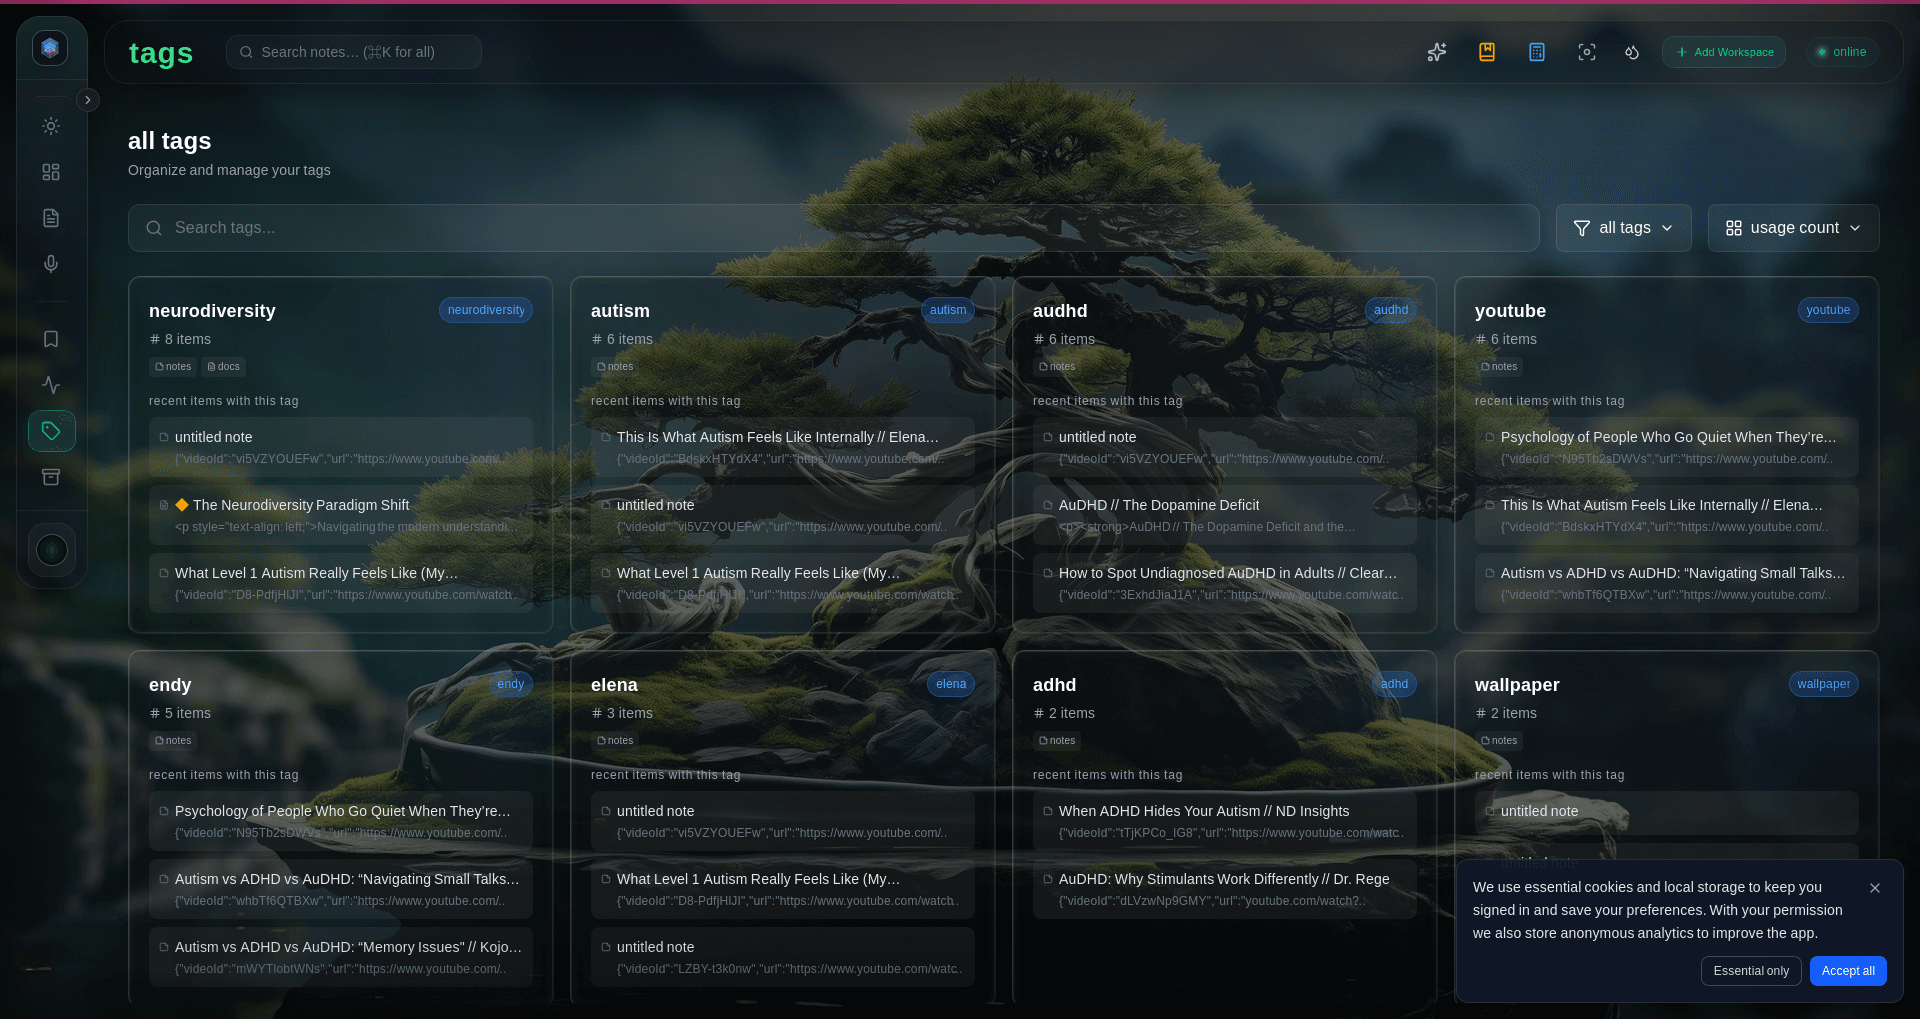
Open the Tags view
Click Tags in the sidebar (under Organize). You’ll see all your tags with note counts.
Pin a tag
Hover over a tag and click the pin icon. The tag moves to your sidebar.
Unpin a tag
In the sidebar, hover over a pinned tag and click the unpin icon that appears.
Up to 7 pinned tags show inline in the sidebar. If you pin more, the overflow appears behind an “all tags” link.
Collections in GlassyKeep
GlassyKeep (the Keep workspace, available on Pro and Clear plans) adds collections — named groups for organizing your saved web content.
Tags vs. collections
| Tags | Collections | |
|---|---|---|
| Purpose | Classify what something is about | Group what belongs to a project |
| Management | Emergent (add as you go) | Intentional (you create them) |
| Best for | Cross-cutting topics | Bounded projects or goals |
Creating a collection
- Open the Keep workspace from the sidebar
- Click + New collection
- Give it a name tied to a project or goal
- Add items by dragging them into the collection, or use the item’s menu
A practical tagging system
Don’t over-engineer this early. A simple system you’ll actually use beats a perfect system you’ll abandon:
- topic/ — what the content is about (e.g.,
topic/ux-research,topic/python) - type/ — the kind of content (e.g.,
type/tutorial,type/reference) - status/ — where you are with it (e.g.,
status/unread,status/archived)
With these three prefix families you can combine filters: “show me unread tutorials about Python.”
What’s next?
With notes and organization covered, the next lessons cover capturing web content — starting with installing the Glassy Companion extension.