Region Screenshots and the Element Picker
Capture specific page regions or individual DOM elements with pixel-perfect precision — HiDPI awareness, offscreen rendering pipeline, and CSS selector persistence.
Before you start
- companion/01-installing-and-configuring-companion
What you'll learn
- Capture a specific page region with the selection tool
- Use the Element Picker to grab a single page component
- Understand how HiDPI displays are handled for crisp screenshots
- Understand the offscreen document pipeline
- Troubleshoot blank or misaligned screenshots
Reference documentation
Read the technical docs for this feature →This lesson goes deep into the two precision visual capture modes. For a basic screenshot overview, see Screenshots & Element Picker in Getting Started.
Region capture
Trigger region capture
Use your region capture shortcut or click the extension icon → Capture region.
Draw the selection rectangle
An overlay appears. Click and drag to draw a rectangle around the area you want. The rectangle snaps to help with alignment.
Confirm
Release the mouse. The overlay is torn down, then the screenshot is taken.
Element picker
Trigger element picker
Use your element picker shortcut or click the extension icon → Pick element.
Hover to highlight
As you move your mouse, individual DOM elements highlight with an outline. The picker walks the DOM tree under your cursor.
Click to capture
Click the highlighted element. Its bounding box crops the screenshot.
CSS selector persistence
Once you pick an element, Glassy remembers the CSS selector for that URL. Next time you open the popup on the same page, the Element Picker pre-targets the same element. This is ideal for recurring captures — a live pricing table, a dashboard metric, a news widget.
The selector is stored per-URL in chrome.storage.local. Clearing browser data clears stored selectors.
HiDPI handling
On high-DPI displays (Retina, 4K), each CSS pixel maps to multiple physical pixels. Glassy Companion handles this correctly:
- The extension reads your device pixel ratio (DPR) — typically 2 on Retina
- The capture rectangle is scaled by DPR before cropping
- The rectangle is clamped to image bounds to prevent overflow
- The result is full physical resolution
A 800×400 CSS rectangle on a 2x DPR display produces a 1600×800 pixel screenshot — crisp and detailed.
The offscreen pipeline
Region capture uses an offscreen document for image processing. Service workers (Manifest V3) cannot directly manipulate images or access the DOM, so the extension delegates to an offscreen document:
Service worker
    │
    │  1. Captures full viewport as data URL
    │     (chrome.tabs.captureVisibleTab)
    │
    ▼
Offscreen document
    │
    │  2. Receives data URL via chrome.runtime.sendMessage
    │  3. Crops the image using Canvas API
    │  4. Sends cropped image back
    │
    ▼
Service worker
    │
    │  5. Uploads cropped image to Glassy as a note
    ▼
This architecture is required because service workers have no DOM access. The offscreen document provides the Canvas API needed for cropping.
Image upload and WebP conversion
When you save a screenshot or region capture:
- The PNG data URL is sent to your Glassy server’s upload endpoint (
POST /api/ext/capture-image) - The server converts it to WebP (smaller, faster to load) using sharp
- The WebP is stored at
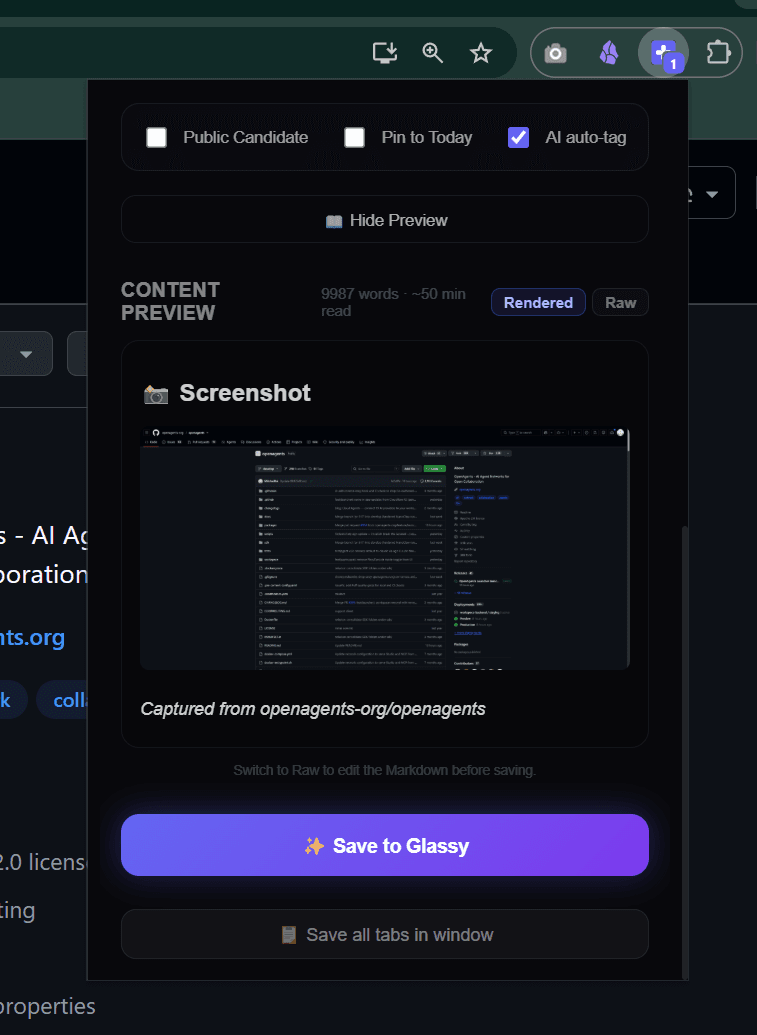
uploads/captures/ - The returned URL is embedded in the capture note as

The upload is deferred with retry — if it fails, the extension retries with a 3-attempt backoff before reporting failure. The capture text still queues and syncs even if the image upload fails.
When to use each mode
| Mode | Best for |
|---|---|
| Full page | Articles, blog posts, documentation |
| Region capture | Charts, infographics, partial page content |
| Element picker | Specific cards, tables, widgets, code blocks |
| Selection capture | Text highlights with source attribution |
Troubleshooting
What’s next?
Learn how the capture queue keeps your captures safe when your server is unreachable.