Installing and Configuring Companion
Install the Glassy Companion browser extension from the Chrome Web Store or Firefox, connect it to your account, pin it, and set up keyboard shortcuts for one-keystroke capture.
Before you start
- getting-started/05-installing-glassy-companion
What you'll learn
- Install the Glassy Companion extension for Chrome or Firefox
- Connect the extension to a self-hosted instance or the cloud
- Pin the extension and set up keyboard shortcuts
- Understand session-based authentication
- Troubleshoot common connection issues
Reference documentation
Read the technical docs for this feature →This lesson is the Companion track’s installation deep-dive. For a quick-start capture overview, see Installing Glassy Companion in Getting Started.
What Glassy Companion does
Glassy Companion is a Manifest V3 browser extension that saves web content into your Glassy library:
- One-keystroke capture — save bookmarks, full-page captures, screenshots, and text highlights without leaving your browser
- Unified Save Card — a single progressive-disclosure form. Essentials (title, collection, tags, note, Save) are always visible; Smart capture reveals presets, visibility toggles, and content preview inline
- Smart Save — automatic content detection with presets (Bookmark, Article, Video, Repo), AI auto-tagging, and content preview
- Capture queue — offline captures queue locally and sync automatically when you reconnect
- Multi-account support — route captures to different Glassy accounts
- Obsidian Bridge — push saved items to your Obsidian vault via an SSE proxy (self-hosted)
Installing on Chromium browsers
Get the extension
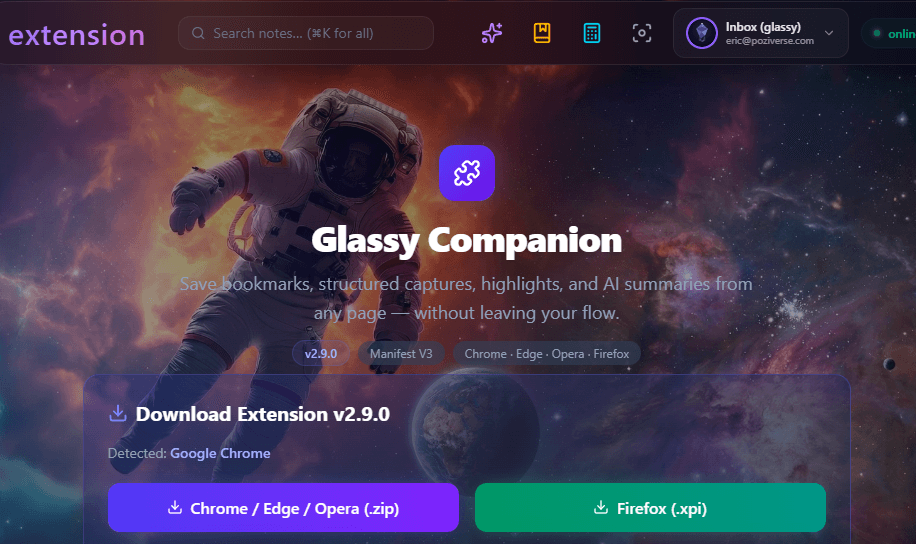
In your Glassy workspace, go to the extension download page, or search for Glassy Companion on the Chrome Web Store.
Add to browser
Click Add to Chrome (or Edge / Brave) and confirm. The Glassy icon appears in your toolbar.
Pin it
Click the puzzle piece icon → pin Glassy Companion. This keeps it visible for quick access.
Installing on Firefox
Firefox uses a signed .xpi package rather than the Chrome Web Store.
Download the .xpi
Download the latest glassy-companion-v2.15.0-firefox.xpi from GitHub Releases.
Install
Go to about:addons → gear icon → Install Add-on From File → select the .xpi.
Connecting to your account
Click the Glassy icon
Click the extension icon. A setup screen appears.
Set your instance URL
- Cloud: the default
app.glassy.fyiis correct - Self-hosted: enter your URL (e.g.,
http://localhost:3000,https://glassy.yourdomain.com, or a Tailscale address)
Sign in
Click Sign in — you’ll be redirected to the Glassy login page. After logging in, you’re redirected back and the extension is connected.
The extension detects Glassy instance URL changes and re-authenticates without requiring a manual sign-out (v2.12.0+).
How auth tokens are stored
| Browser | Token storage | Persists across restarts? |
|---|---|---|
| Chrome / Edge / Brave | chrome.storage.local | Yes |
| Firefox | chrome.storage.local | Yes |
The token’s JWT exp claim is enforced. Legacy session-storage tokens are auto-migrated to local storage on first read.
Keyboard shortcuts
Configure shortcuts at chrome://extensions/shortcuts (Chrome/Edge/Brave):
| Action | Suggested shortcut |
|---|---|
| Capture full page | Ctrl +Shift +S |
| Capture selection | Ctrl +Shift +Q |
| Capture screenshot | Ctrl +Shift +R |
| Open popup | Ctrl +Shift +G |
Troubleshooting
What’s next?
Learn the region screenshots and element picker in depth — HiDPI handling, the offscreen pipeline, and CSS selector persistence.